
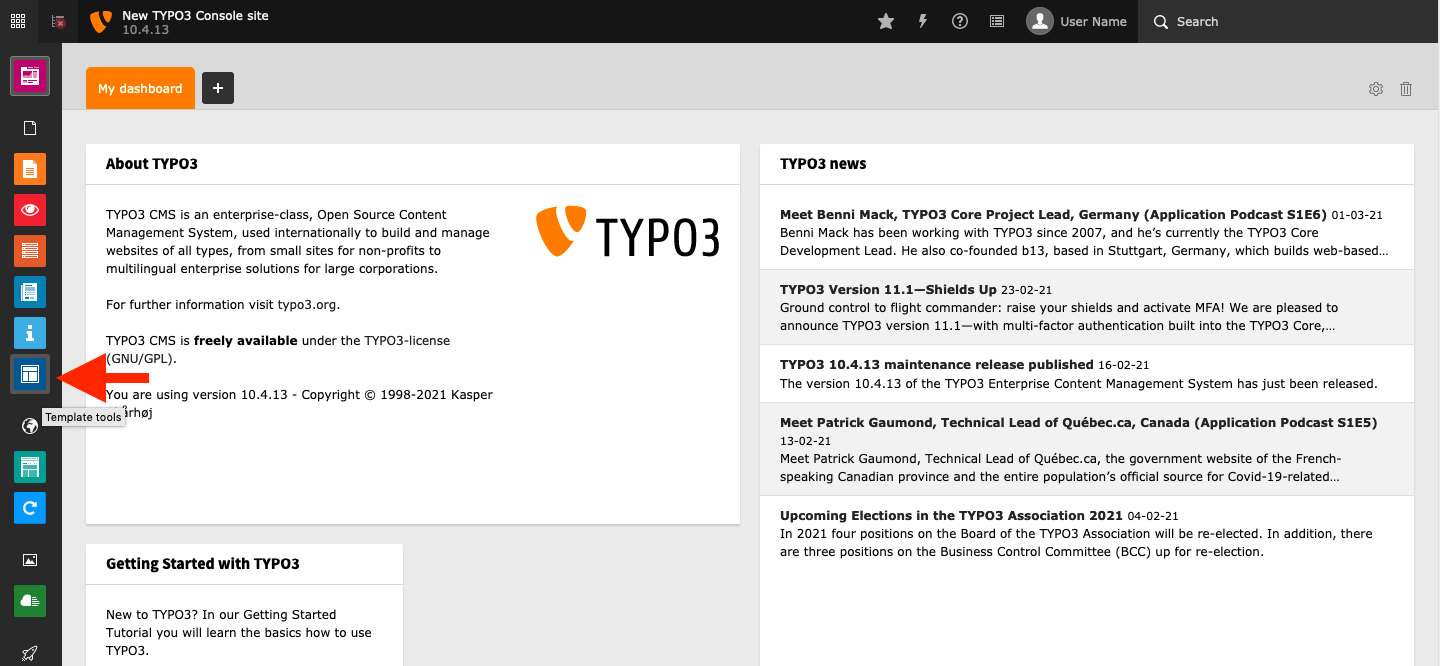
Step 1
Log in to your Typo3 backend and go to the Template Tools via the menu on the left.
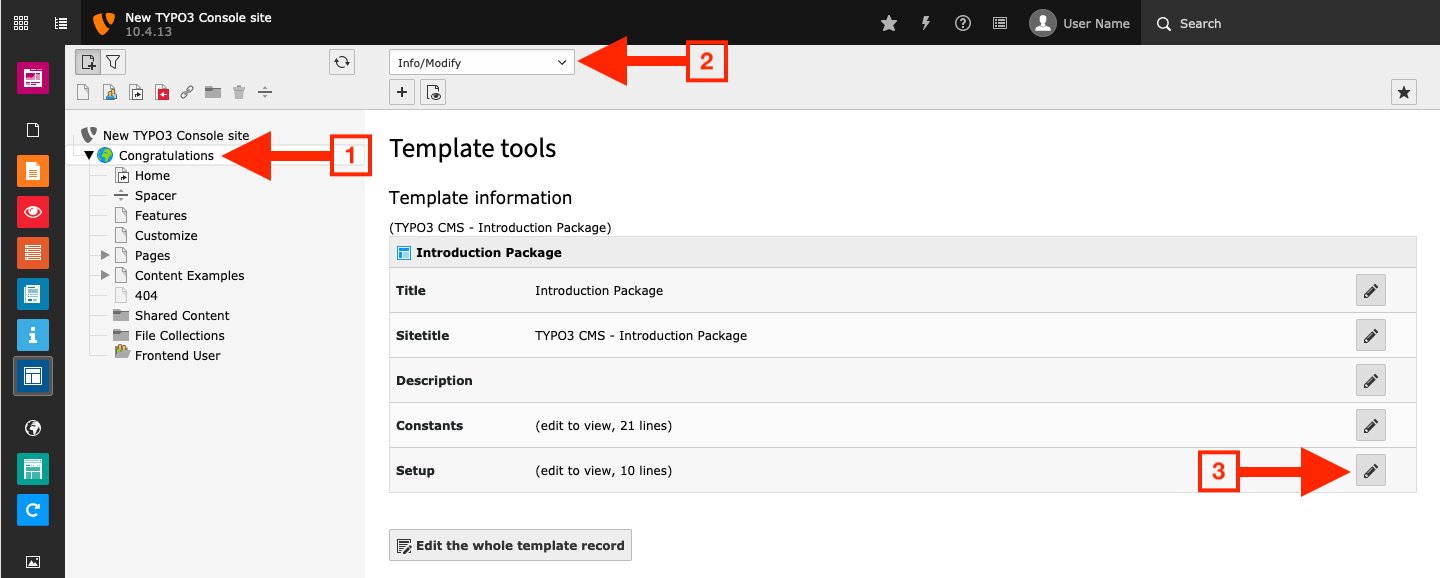
Step 2
In this view, click on the template you want to add the Widget to (1). Now switch to Info/Modify using the dropdown menu (2). In the Template information click on the pencil icon under Setup to modify the template setup configuration (3).
Step 3
Add the Widget to your template with TypoScript
using one of the methods shown below (1). Don’t forget to save your
changes when you are done (2).

Step 4
Congratulations. Userlike will now appear on your website.
Integration using TypoScript
TypoScript is a configuration language that allows
you to define aspects of your Typo3 frontend without the need to dive
into the actual code of your website.
The following examples show you two simple methods
that can be used to integrate the Userlike Widget snippet into one of
your Typo3 templates. For more advanced usage, we encourage you to refer
to the official TypoScript introduction or the official TypoScript reference documentation.
Method 1: Using
footerData.
Simply use the Widget snippet of the widget you want to integrate in
the TypoScript example below. To learn how to get your Widget snippet,
check out our website integration tutorial For more information on the footerData property, please refer to the relevant section of the TypoScript documentation.javascriptpage.footerData { 999 = TEXT 999.value = <script async type="text/javascript" src="https://userlike-cdn-widgets.s3-eu-west-1.amazonaws.com/0311e734dXXXXXXX0eb6e40471bXXXX34d758079b994309a18a662aa79fe910.js"></script> }
Method 2: Using
includeJSFooter.
Using this method lets you build the script tag that will load the
Widget manually. This allows for more configuration options. For
example, you can exclude the script from the automatic script
concatenation performed by Typo3, as shown in the example below. For
more information, please refer to the TypoScript documentation for the includeJSFooter property.javascriptpage.includeJSFooter.userlike = https://userlike-cdn-widgets.s3-eu-west-1.amazonaws.com/0311e734d84c528de0eb6e40471bf66734d758079b994309a18a662aa79fe910.js page.includeJSFooter.userlike.type = text/javascript page.includeJSFooter.userlike.async = 1 page.includeJSFooter.userlike.external = 1 page.includeJSFooter.userlike.excludeFromConcatenation = 1